Hemlock Bistro on Hairpin Legs Stuffed with Cedar

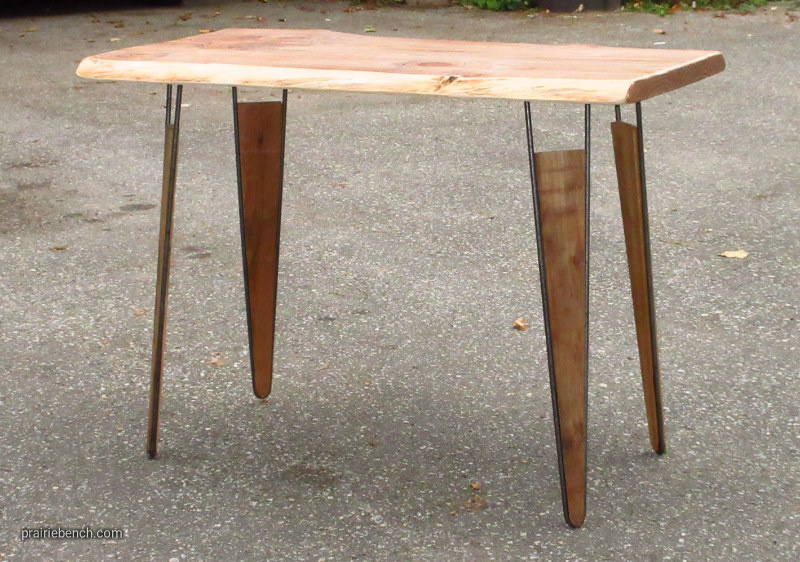
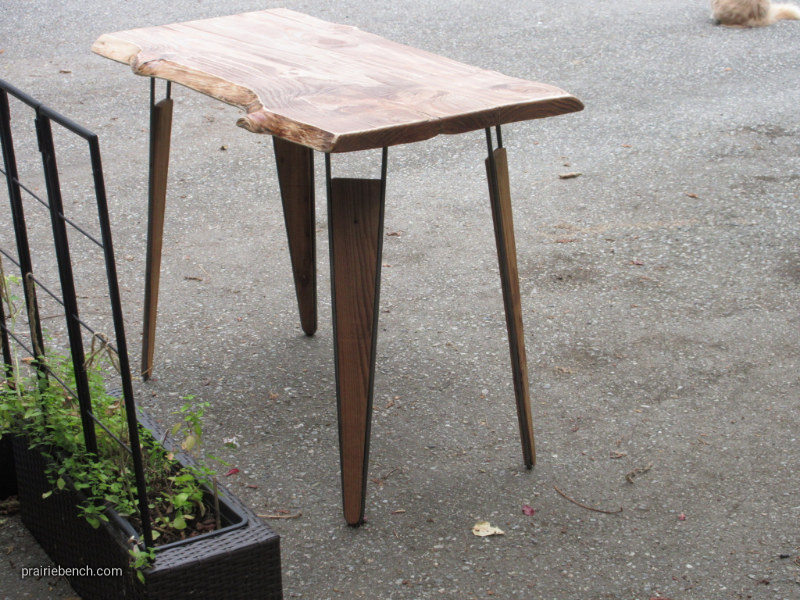
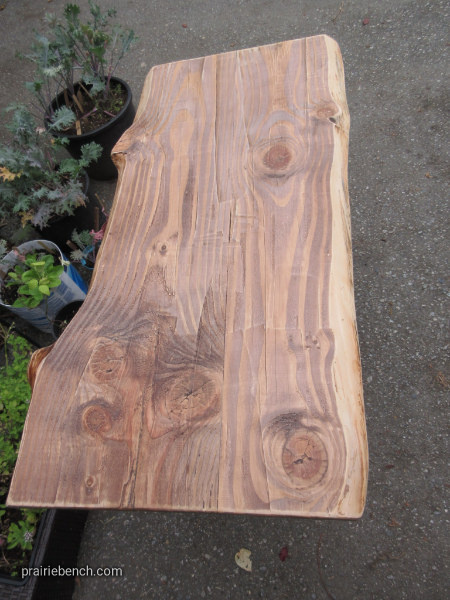
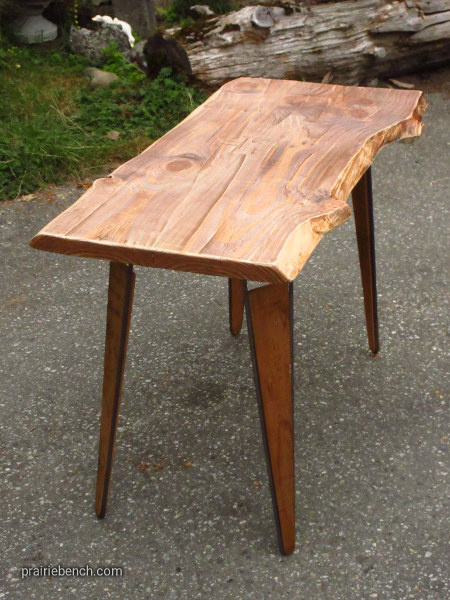
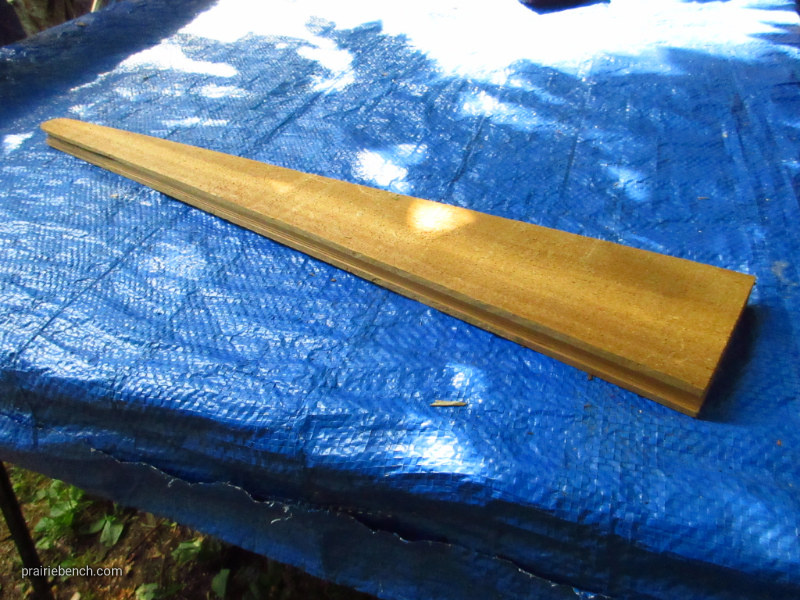
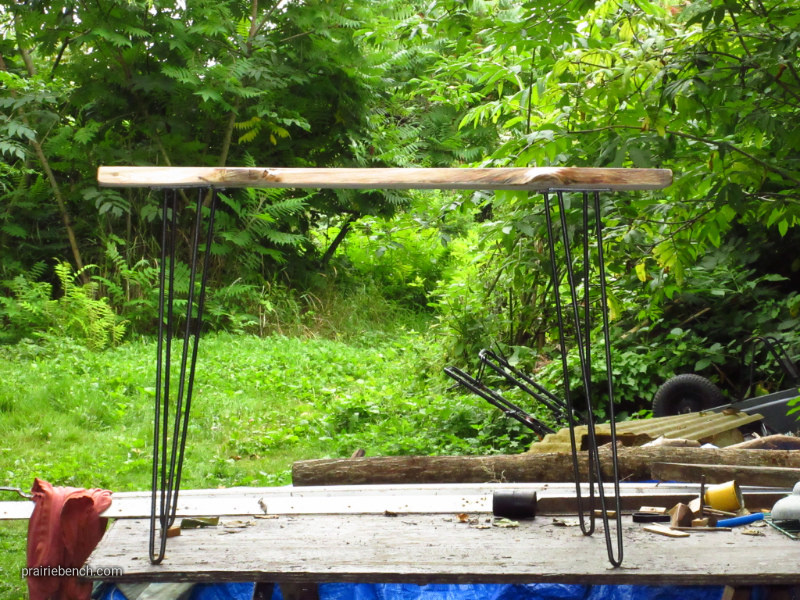
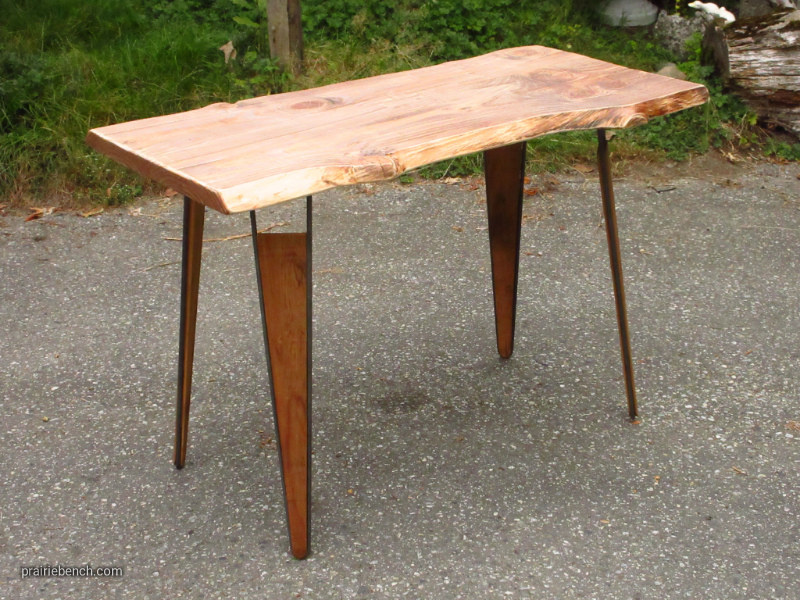
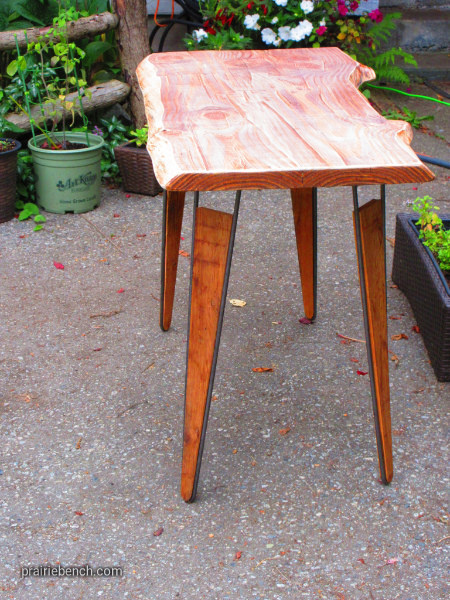
Kind of sounds like a menu item…? This little table is an experiment with live edge hemlock planks and steel 26″ hairpin legs. A retro-rustic combination. The planks were cut on one side and glued. The legs were squared at the most aesthetically pleasing positions, checked and rechecked, then screwed into place.

.

The surface and edges were sanded with 80 grit and many of the big band saw marks were left on to show the history of the piece. A very light mix of poly and paint thinner was used to create a dull finish that’s easy to clean. It soaked in well and set to prevent cracks and splits, especially along the grain edge.

.

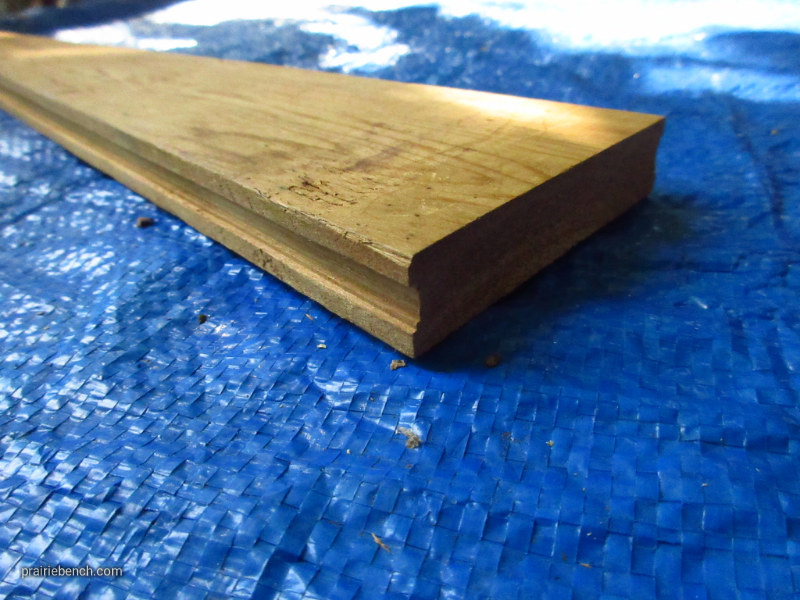
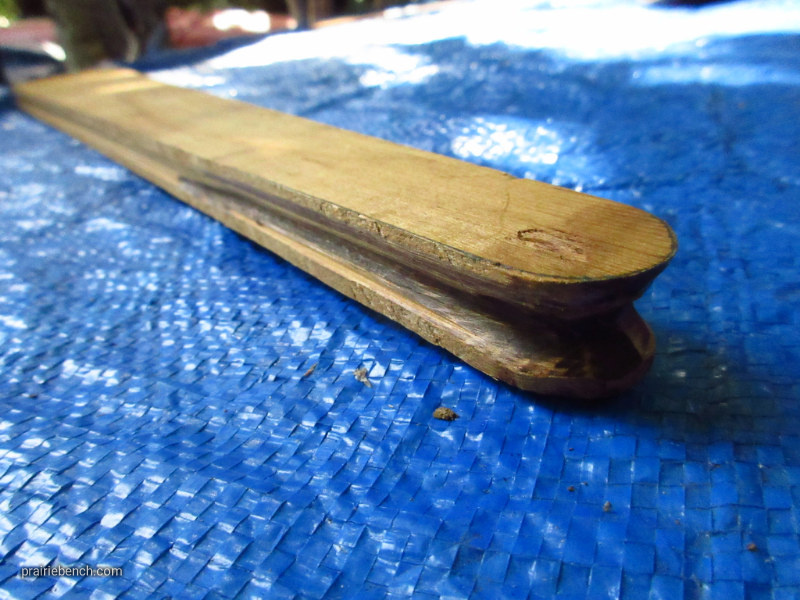
The goal was to create a small enough table for an apartment dweller and give them the best virtues of rustic wood with retro hairpin legs that have become fashionable again. It starts to give the appearance that the table top is floating. However, unsatisfied, we wanted to accent the air gap and make the table a little different. Out came the old barn wood and we found some 1/2″ cedar slats that could be trimmed and beveled to slide into the steel wire legs.

.

A tracing was made of the inside area with an extra 1/4″ to make each cedar slat slightly larger. Then each slat was run down a saw blade to make a groove. Finally, the slats were sanded and the groove was shaped into a channel. Some slight trimming to even the angle on the top of the slats was required. Now they drop in, or can be removed. Not sure if the slats serve a purpose, but it makes for an interesting bistro table with the top appearing to float above the legs. It’s also easy to fix a wobbly table with hairpin legs–just pull the narrow tips slightly apart and the table sinks down so all four legs are touching.
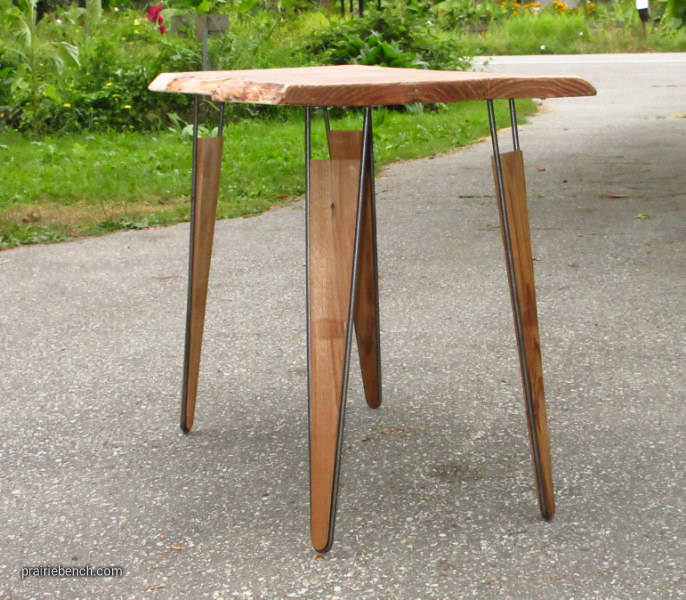
#08-28-19 is 27″, or 68 cm tall without floor savers, 42″ (106 cm) long and varies in width around 21″ (53 cm) and finished in poly. The natural edge can make finding the best position for the legs difficult, so measuring a rectangle that fit within the widest and the narrowest area seemed to work, as well as some long gazes.

Ragged Edge Cedar Counter

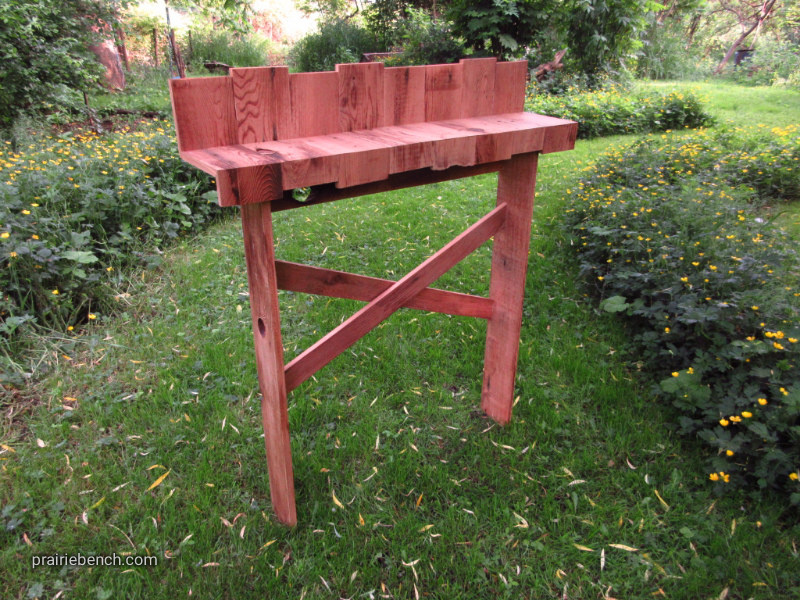
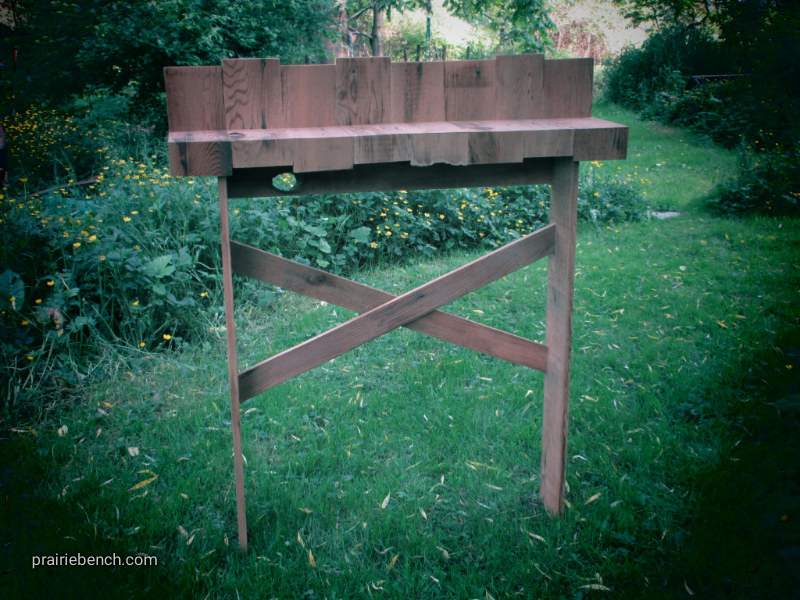
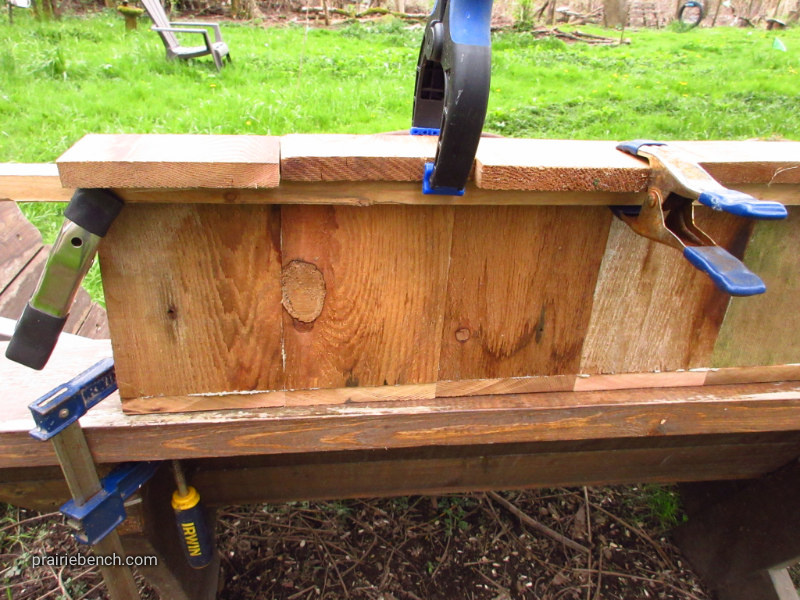
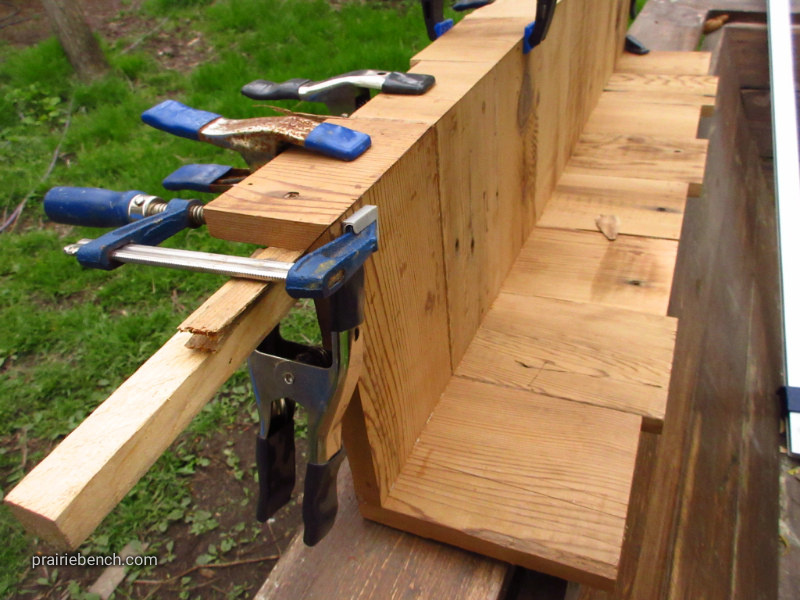
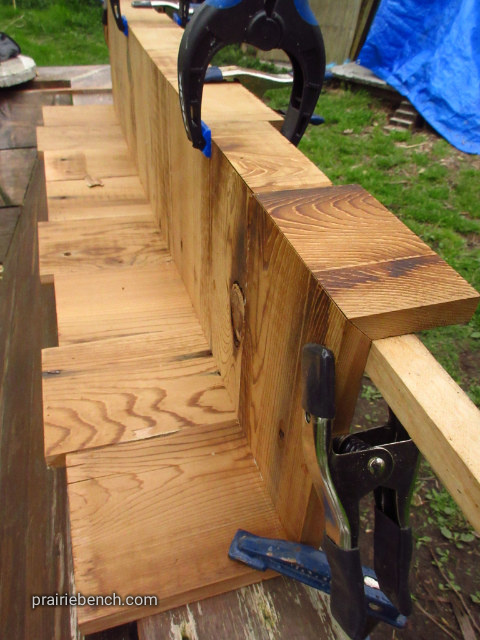
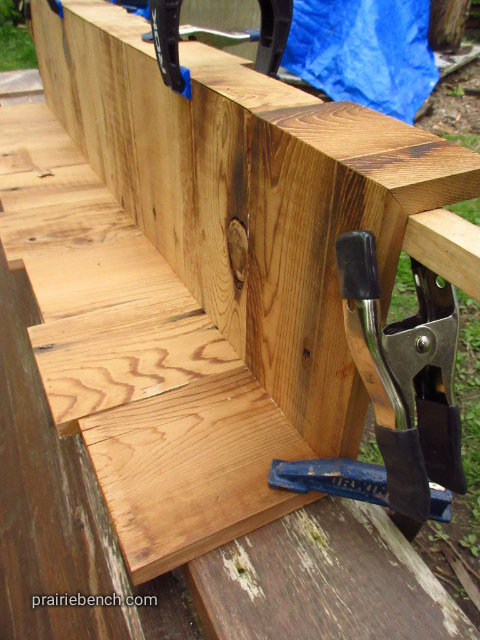
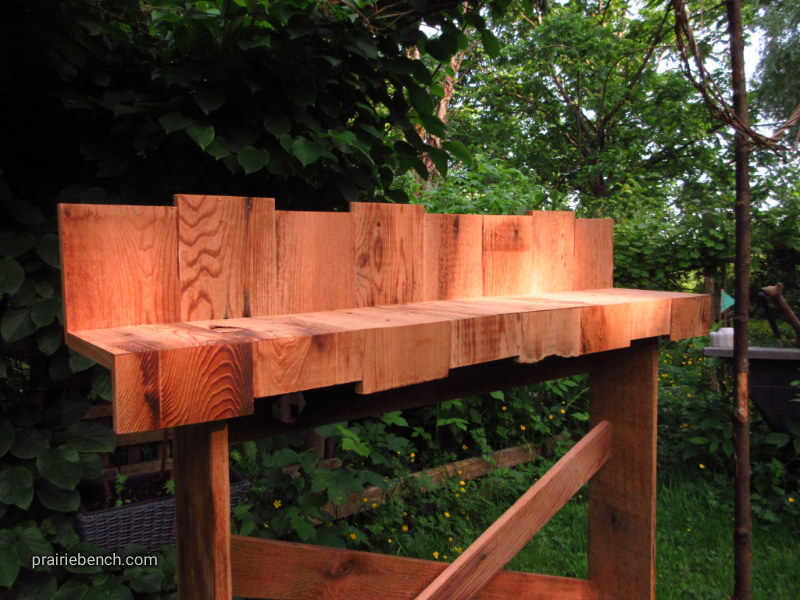
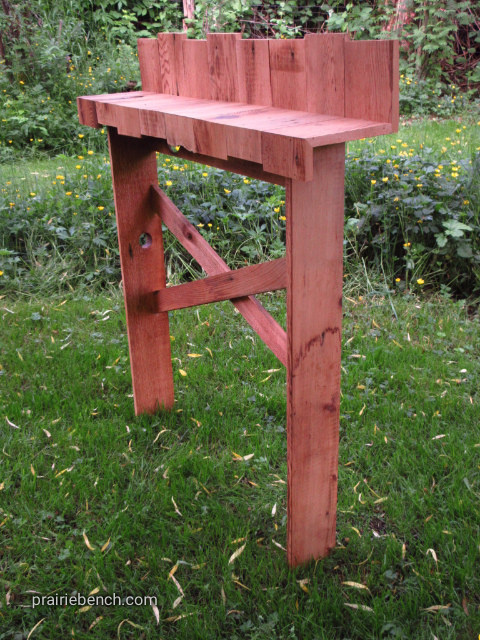
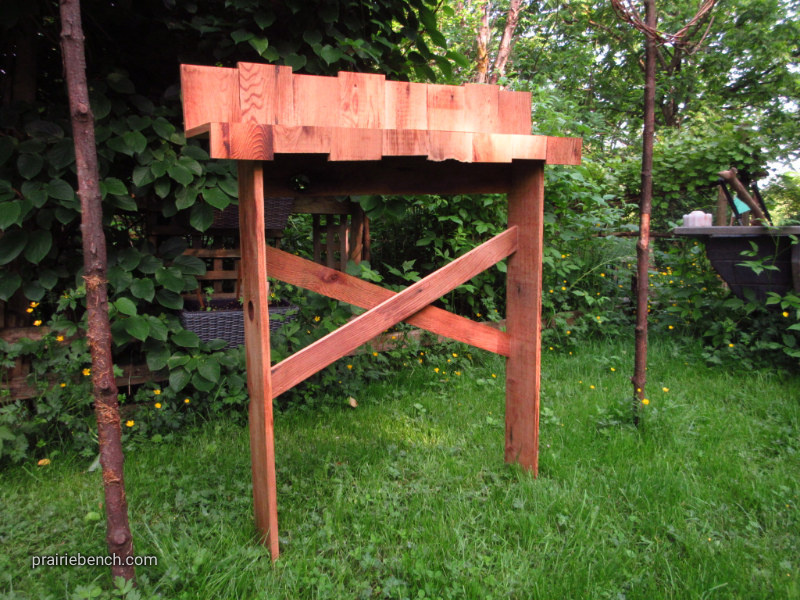
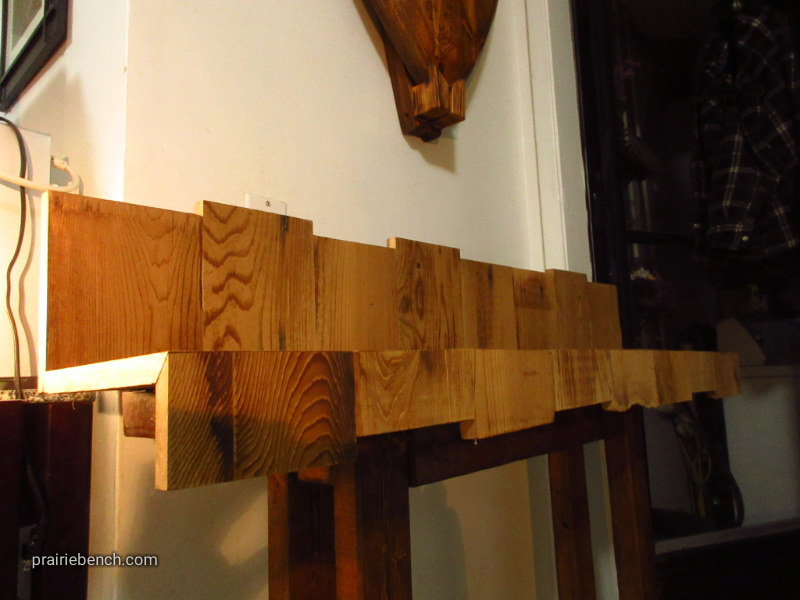
The ragged edge cedar counter was a project to use up some leftover barn wood found in an old shed. The slats are trimmed to approx. 5″ wide. Then the boards were glued and clamped together side by side, while staggering the length of each. Then the end of the glued material was trimmed at 45° and glued to form a square edge. The matching wood grain aligns to give the appearance of wood folded to make a counter.

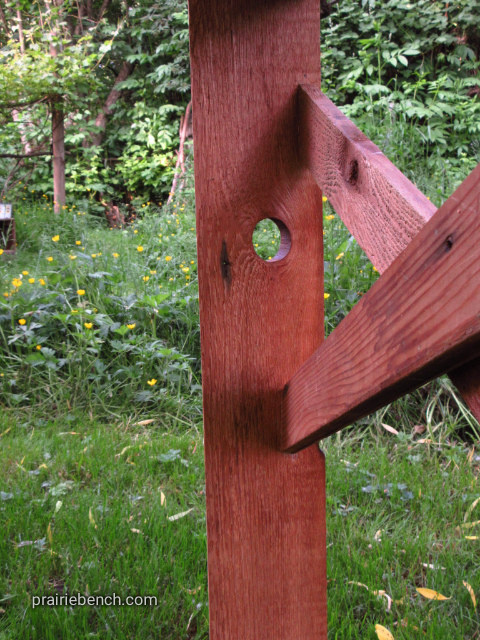
Clamping was a trick and several spring clamps were used to maintain an even line at the join. Vertical slat cedar with angle supports complete the farm look. No nails or screws are used. The piece is unfinshed, with only a light sand to remove slivers.

The ragged edge cedar counter is unnumbered and designed as an experiment to highlight the rustic appeal of an old fence or barn wall, knot holes included.

Live Edge Picture Frames

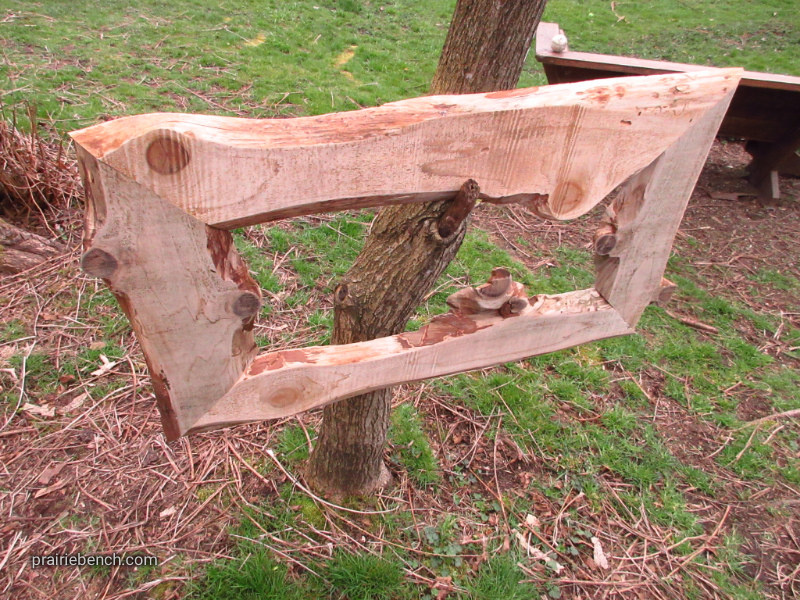
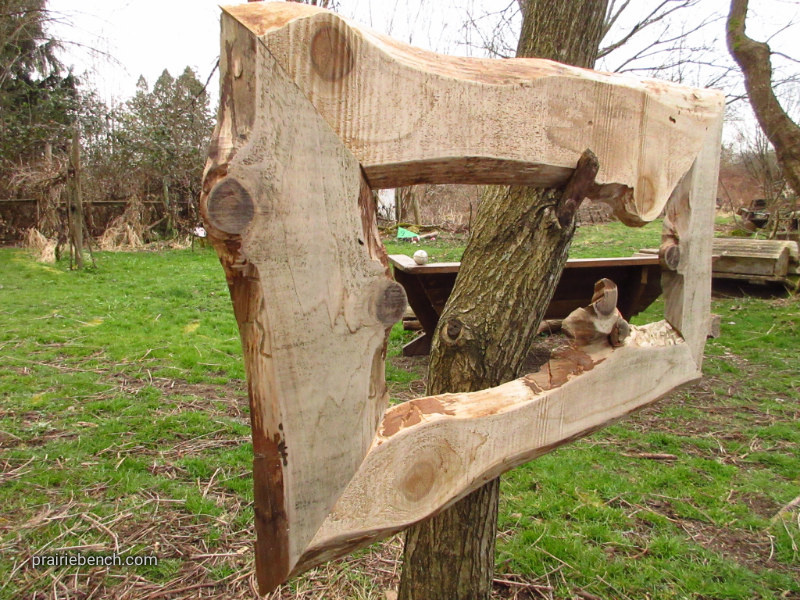
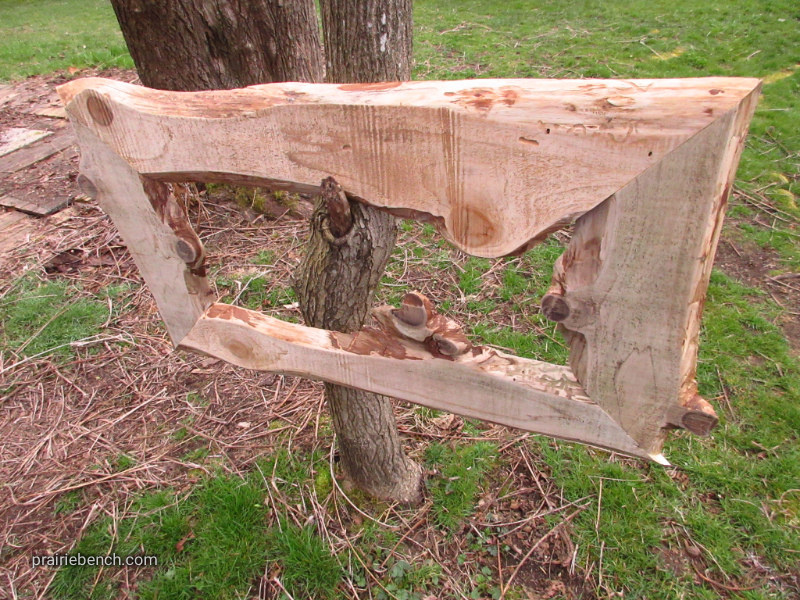
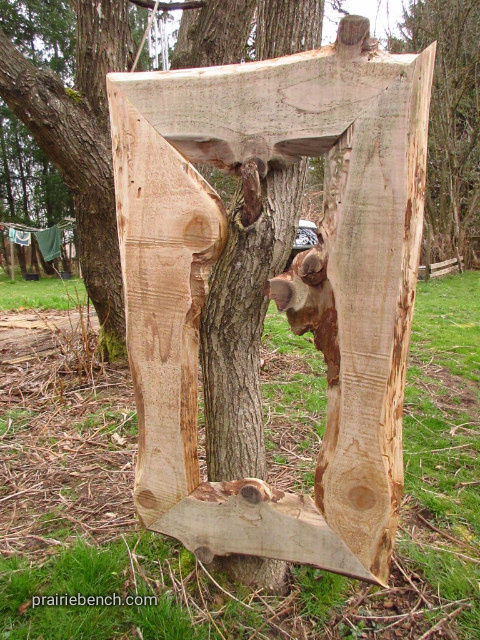
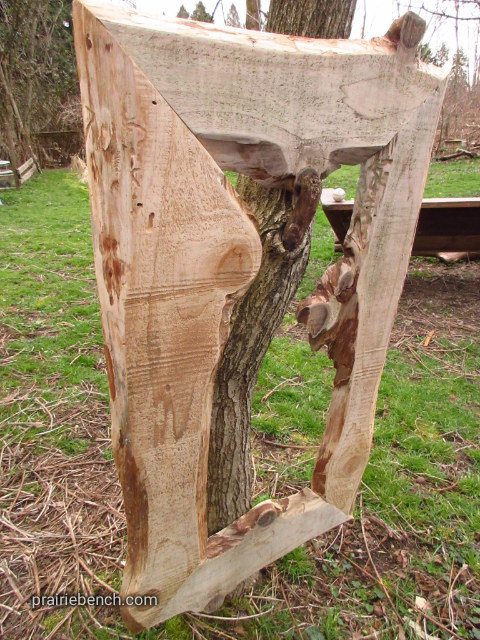
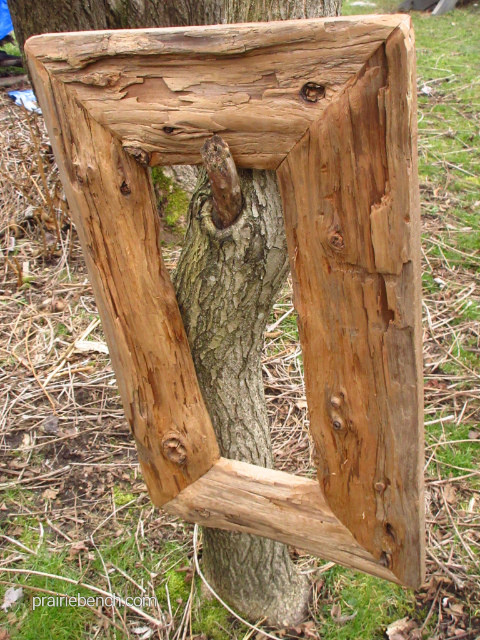
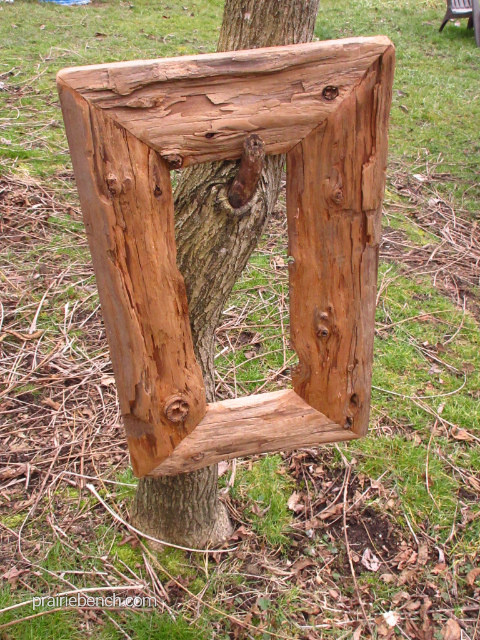
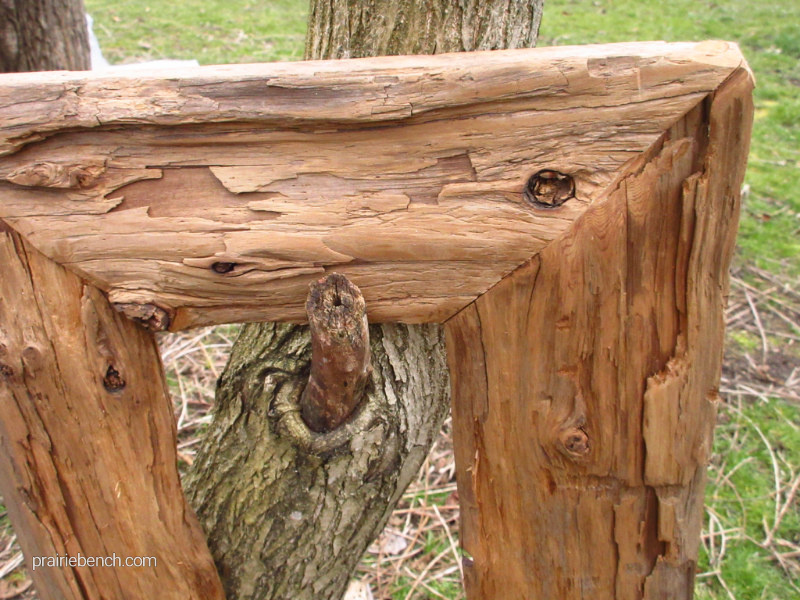
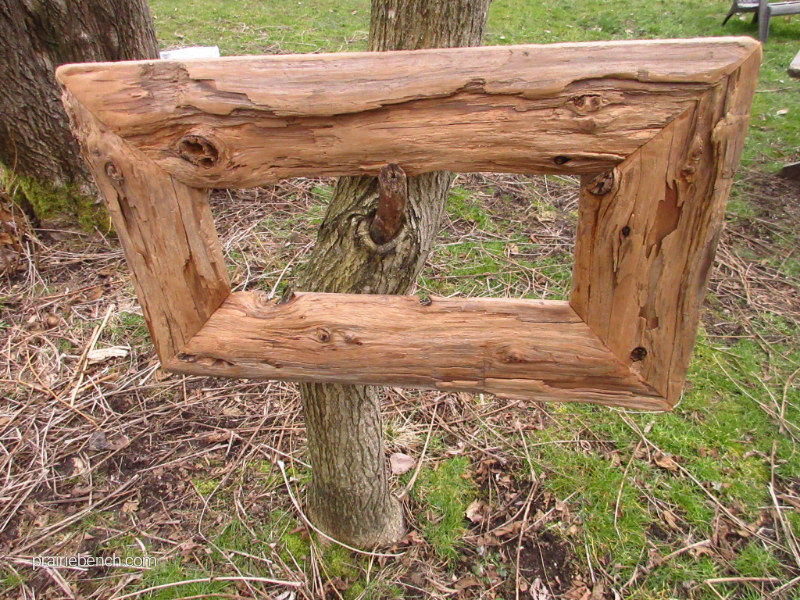
A fun project using left over mill planks that were left with live edges… rough cuts.

The large one is hemlock and approx. 48″x24″. The interior image area is considerably smaller, approx. 12″x36″. A simple wide sketch might be appropriate, maybe using parts of the frame as elements of the picture. We were thinking a western motiff, perhaps a rider on a horse overlooking a vista on the high plains.

The smaller frame is cedar and aged. No finish is used. The size is approx. 36″x 18″. A light sanding with 80 grit removed any slivers. It is tricky to find usable 45° angles to join the sides of the frame. Little cuts are made until matching edges line up. The frames are both glued with PL, a construction grade adhesive.

Both frames are not numbered and created as an experiment. We’ll post an update when we find appropriate pictures to use in the frames.
Wall Mounted Cedar Jewelry Case

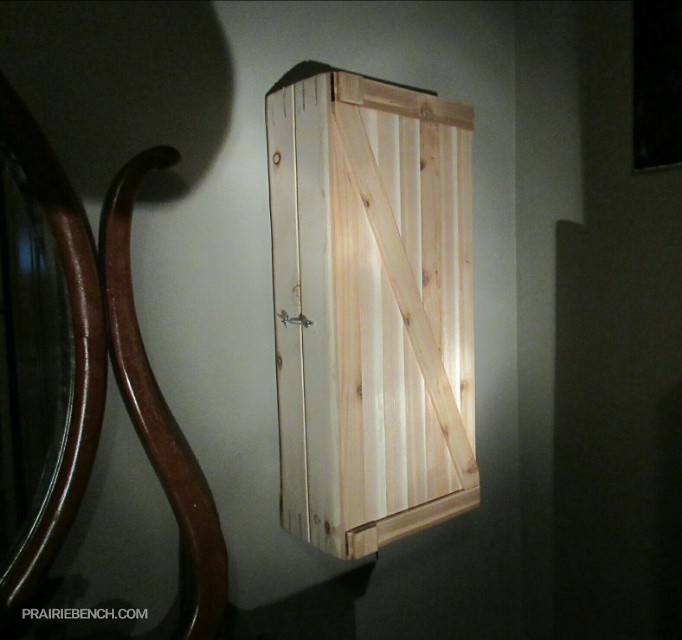
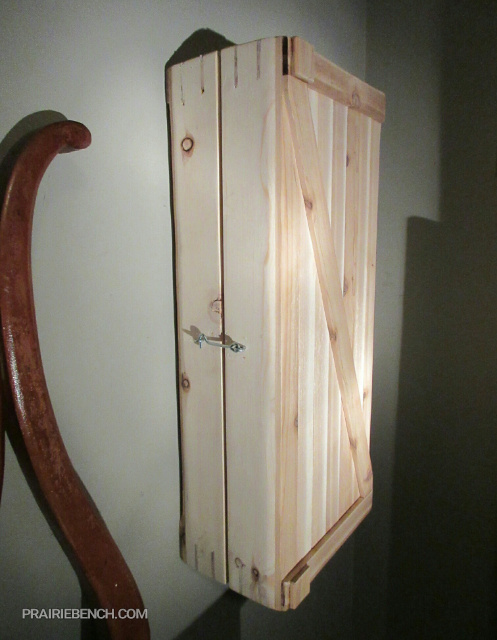
This is a simple cedar slat box with a pine frame, cut in two, hinged, and mounted with two steel L-brackets. The L-brackets are mounted to a wall stud above and below the case. A small hole is drilled through the top and bottom of the case and two steel removeable pins secure the case to the brackets. Pull the pins and the case can be taken down and displayed on a flat surface.
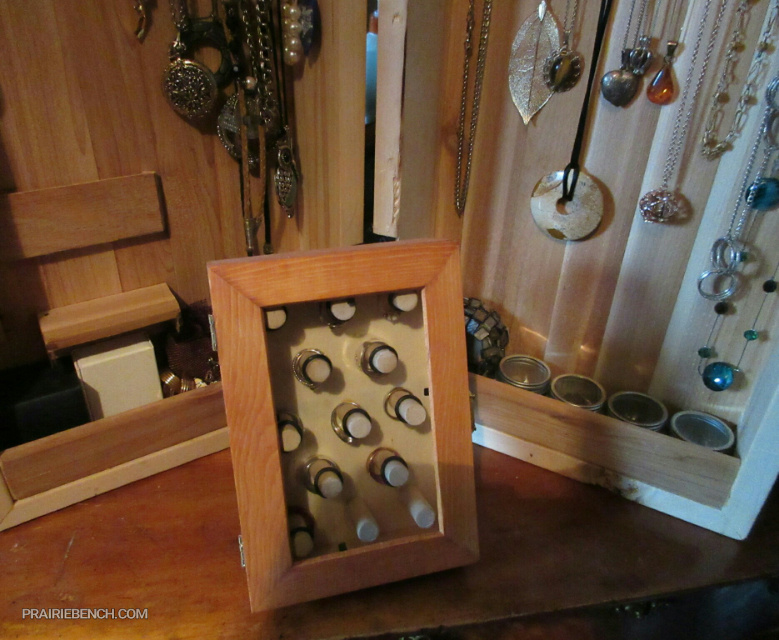
The style is to be old farmhouse. All the surfaces are sanded smooth and there is no finish. The case will age and darken over time naturally. A simple gate latch holds the door.
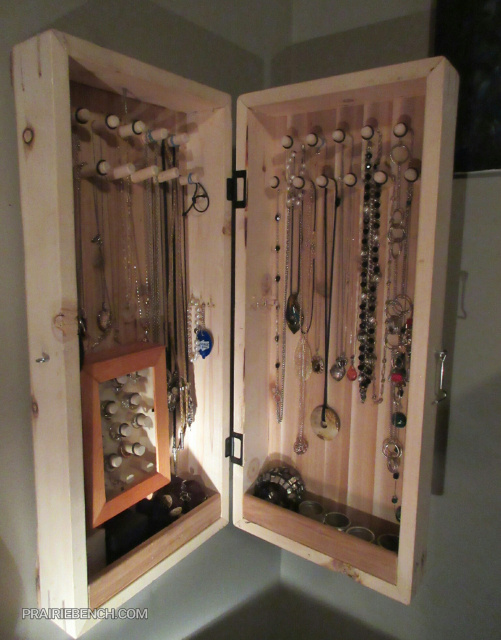
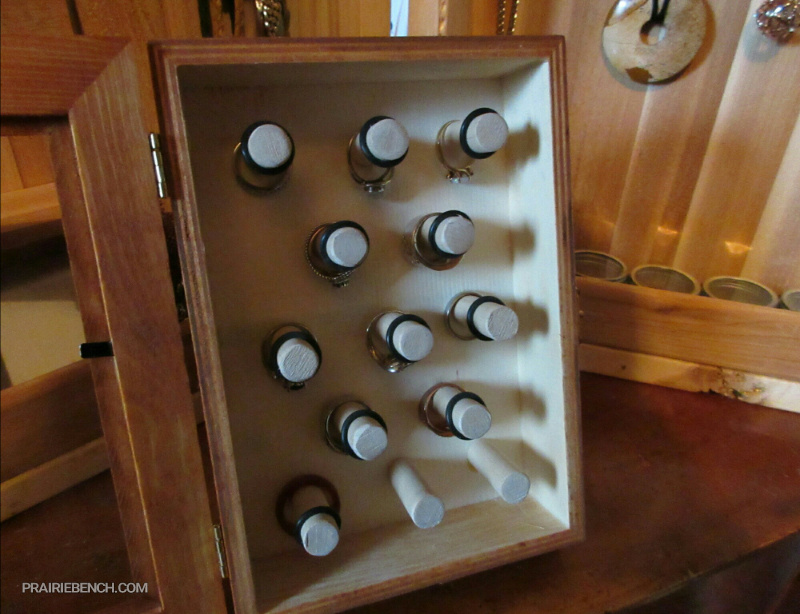
Pegs were plotted on a pencil graph using a square. Two more cedar slats create a couple shelves. A detachable ring case rests inside. The dimensions are 63×24 cm (25″x 11″) and 17cm (6.75″) deep when closed.
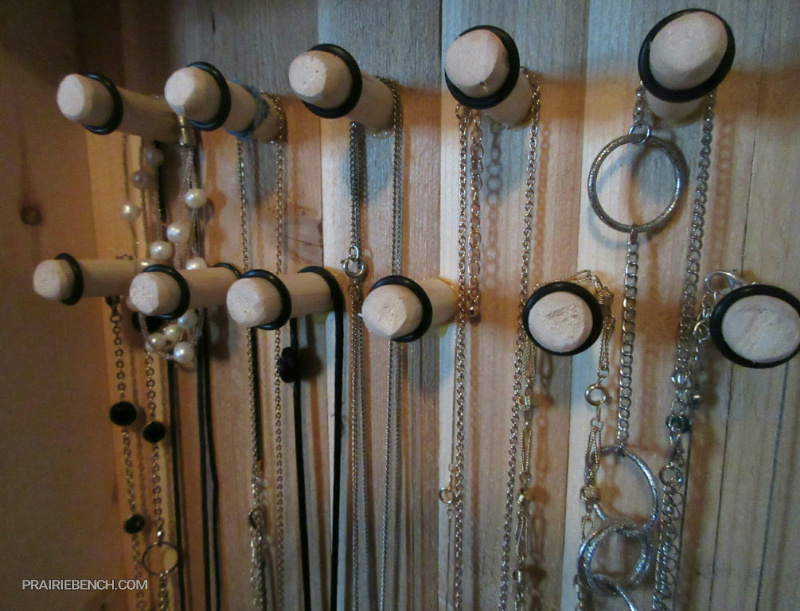
Plumbing o-rings fit perfectly on 1/2″ dowel as a stop. The cedar slats are only 1/4″ thick so the 1.5″ pegs are cut at a 5° slope and glued in place. This keeps necklaces against the backboard.
The ring case uses 3/8″ dowels cut square and glued in place. A recycled picture stand is glued to the back and folds flat to tuck in a slat on the larger case.
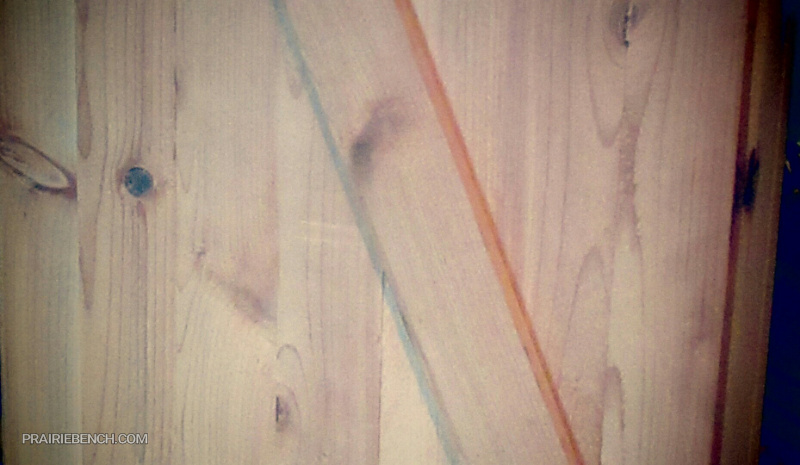
The cedar is dry but still quite light in tone. Over the years the unfinished wood will age and start looking like a barn door. This piece is unnumbered and created as a fun test.

Soaring Cedar Bird of Prey

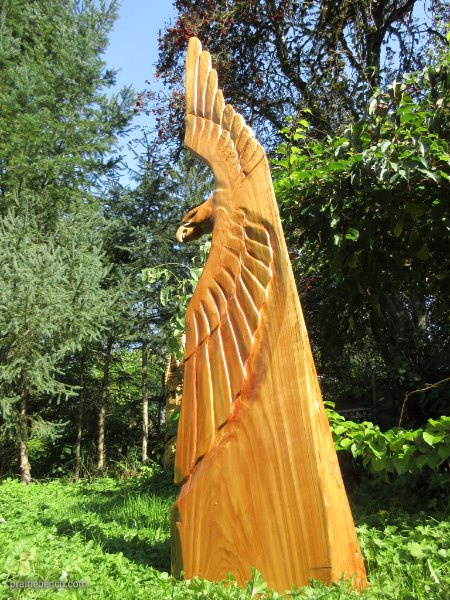
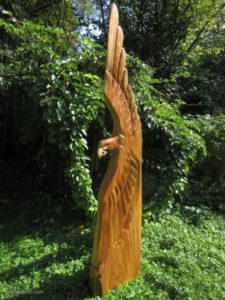
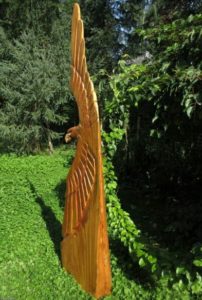
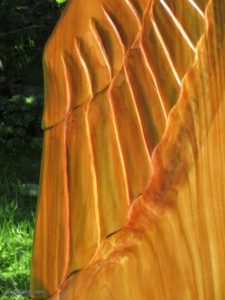
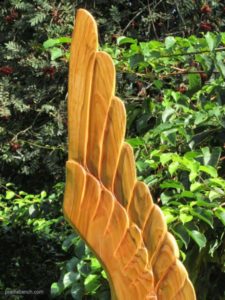
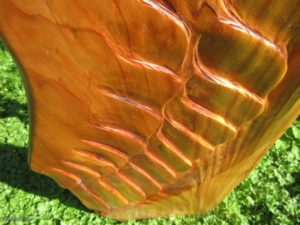
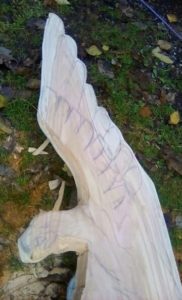
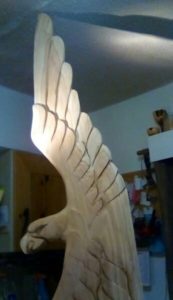
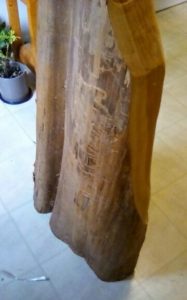
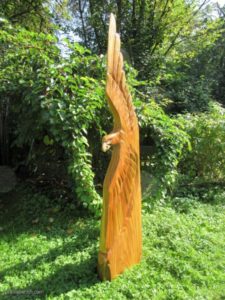
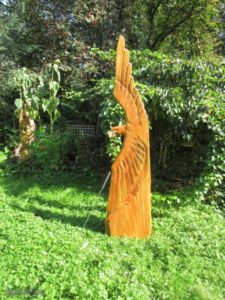
This project uses a sample wain cut from a West Coast cedar log. The wood sat drying for a year to prevent splits, then it was shaped with a chainsaw and sanded smooth. The final piece stands just under 8 feet tall at 94″ (240cm), 24″ wide (60cm), 9″ thick (23cm).

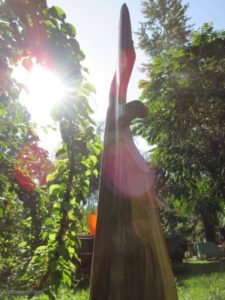
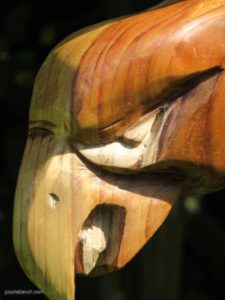
The reverse side is uncut and displays as raw wood. The outline of the upper wing is left mostly in the same condition as we received it. It took a fair bit of gazing and study to finally “see” the modified bird of prey with out stretched wings. We talked about adding a tail section, but the vote was to leave it at just a suggestion. The goal was to have a rough cut bird appearing out of the wood. The profile and wing style portray a falcon or hawk.

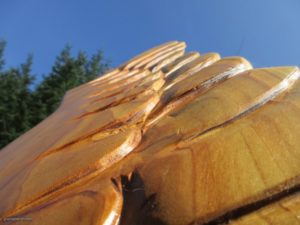
The chainsaw is evident in the way the feathers were cut using the round tip to “staircase” the surface in layers.


The finish is polyurethane which works as a durable and protective coating. It will darken over time and a light sanding may bring out the feather tips to add some contrast.