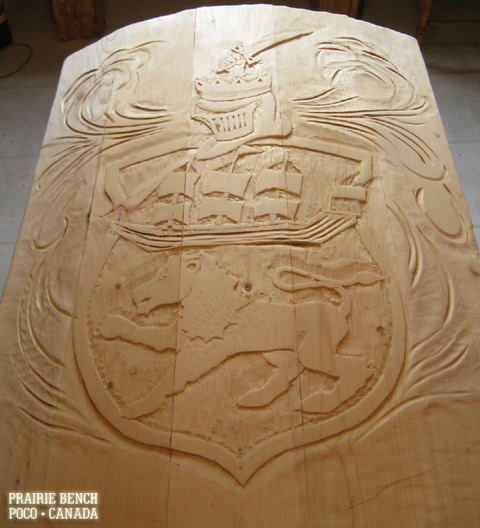
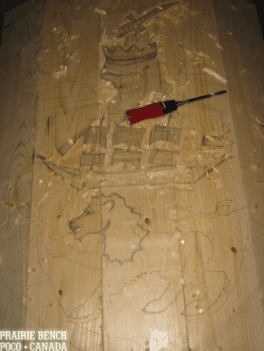
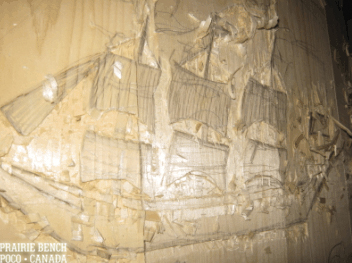
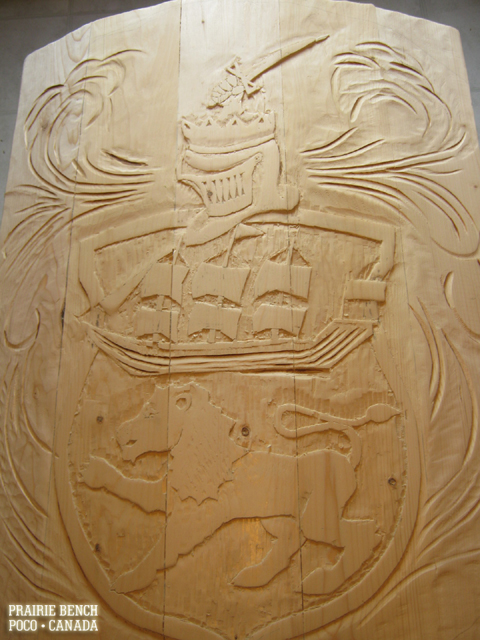
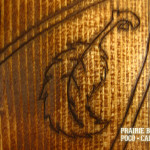
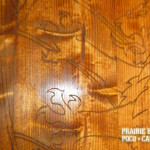
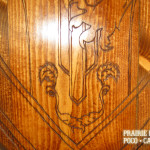
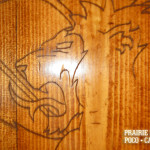
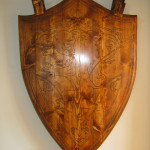
Take a look at the progress of a hand carved wooden crest for the Family O’Leary. It’s part of a promo we’re doing at a new store in town.
Also… we put together an ‘ancient’ spruce wooden crest. First a sketch with ye ol carpenter’s pencil. Then rough out the shapes with a sharp chisel, then get fancy with a grinding wheel and some carving knives. We used spruce planks and didn’t plane them for a rough, hewn look. Next, we’ll cut the final shape, burn the edges, throw in some sword gouges and four hundred years of weather. Crests are fun to do because we learn something about the family history. This includes a sword and gantlet, crown, helmet, three masted ship, the crest, plumage, and a red lion. Check back to see the final piece when we’ve aged it and added a few battles.
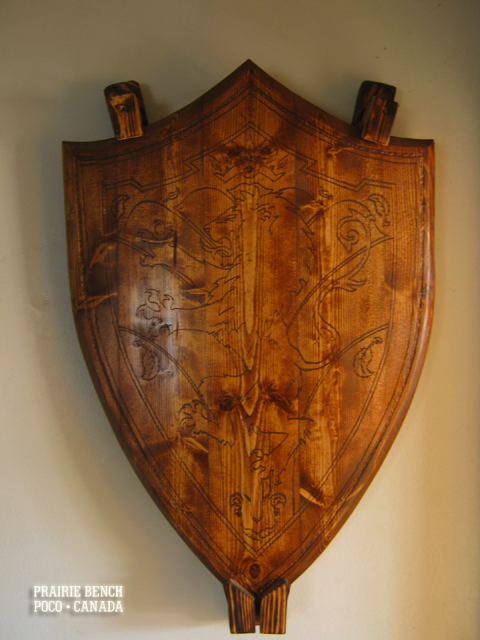
In the age old tradition of carving family crests on thick wooden shields, we did our own. It’s a representation of a lion on a field of leaves.
Our carver created a fine line etching and finished the work with a custom frame holder. The crest is made out of a few select pieces of fine grain spruce and the holder is fir. Spruce is a softer wood but quite strong and pleasant to carve and whittle. A light stain of mixed antiquing oils was used to penetrate the etching and darken the lines. The piece is soaked in linseed oil and cured to a hard finish. (If you are working with oils, remember to place the rags in a sealed metal container or they might spontaneously ignite. Or hang them outside to dry.)
A retired furniture manufacturer from the UK saw this piece and pronounced it definitely guild quality. We don’t know about all that, but humbled considering we are just whittling out back.
Approximate size: 31″ x 21″ x 1.5″ thick with a 5% curve.
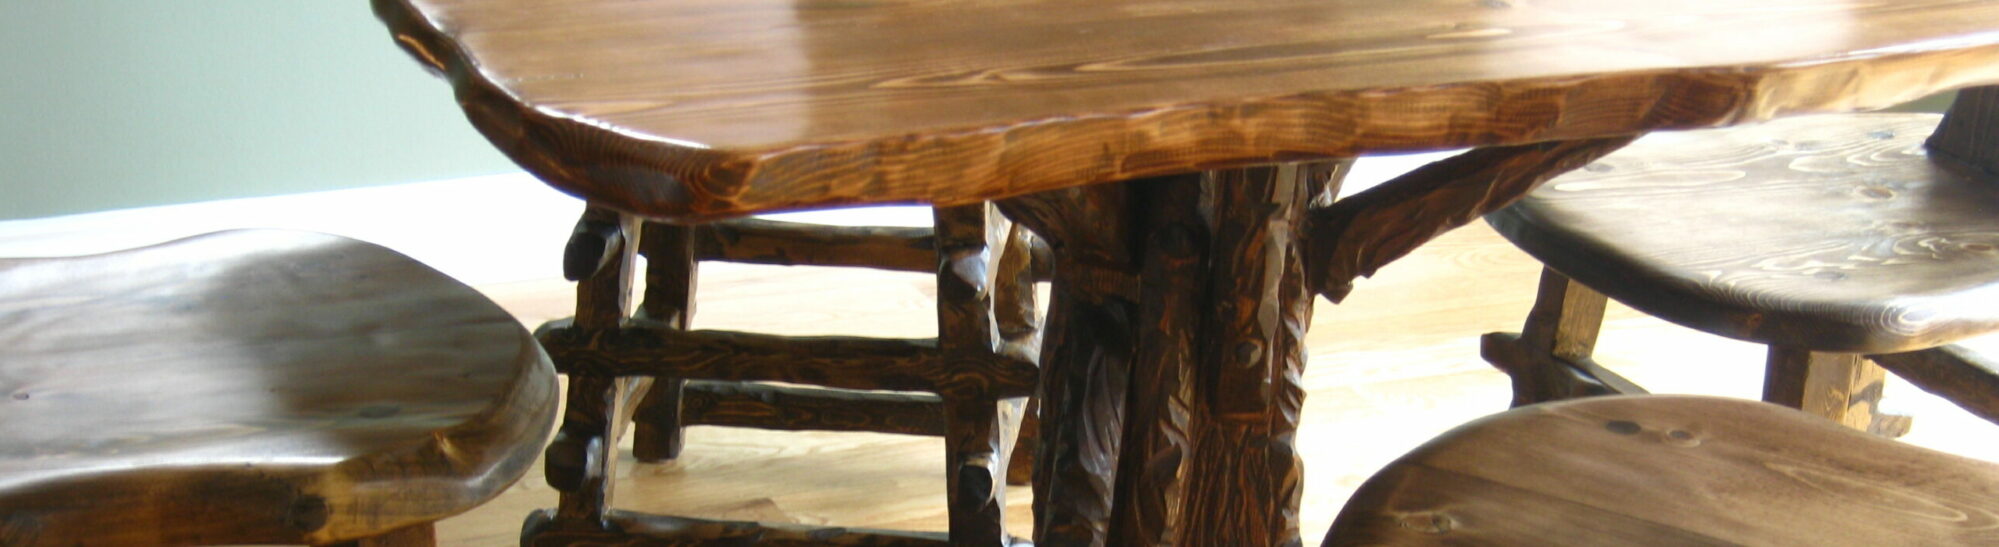
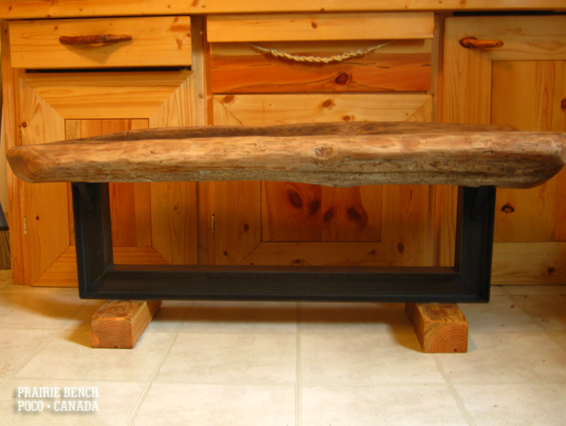
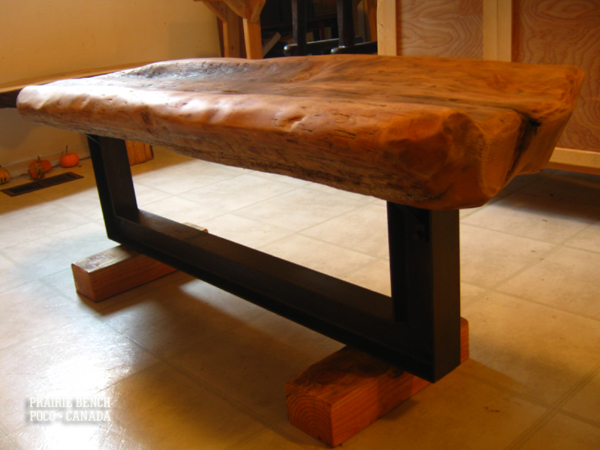
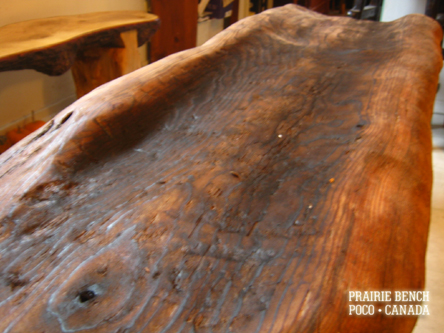
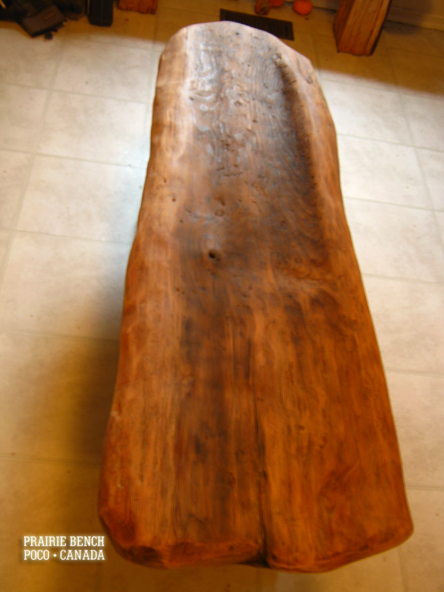
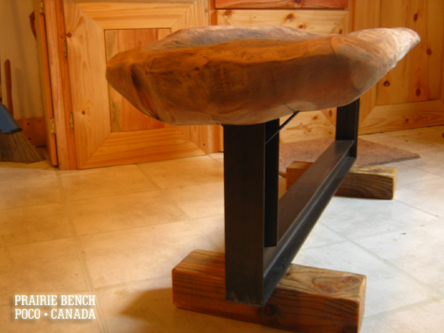
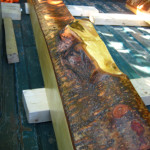
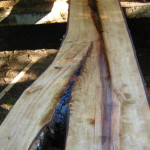
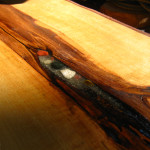
Like the elves, we wanted to squeeze in a couple extra projects before the holiday season. A client found a large slab of fallen cedar near a rail line in the Nelson area. The sample has unique features and a natural bowl shape. We believe the wood may be a remnant from a lightning strike due to the pattern of the burn and its location on the inside core. The wood was aged and weather worn, and full of splinters, however the structure was still good and could be preserved as a bench.
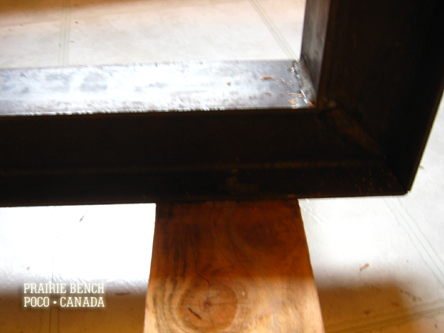
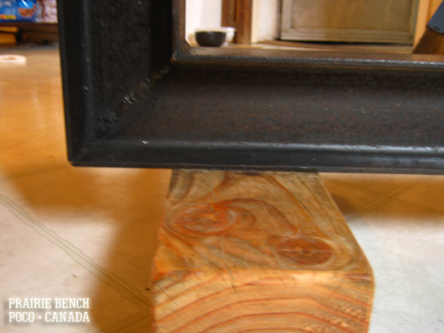
We suggested continuing the rail line motif with an industrial style combined with the wood. We ‘tracked’ down a nice piece of I-beam from the recyclers and then went straight to Steve at Hawk Metalworks in Poco (leave a comment if you want the tel#) where the frame was cut and welded to our exact specifications. For ties we used hemlock 4″x3″ rough cut beams.
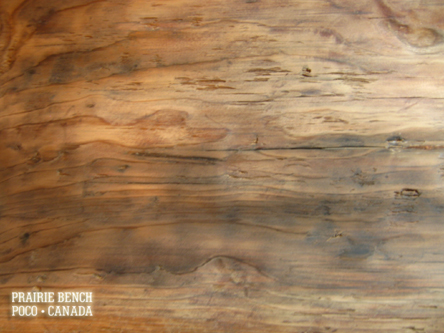
The challenge with old cedar is the breakdown of the long grains resulting in slivers and and fractures. We soaked the piece in poly several times, sanding extensively to create a natural finish without gloss to the client’s preference. If cedar does get a sharp edge, sanding just exposes more of the sliver, so for anything too nasty, we cut across the grain in a scoop motion, soak with finish, and sand the divot smooth. The goal was to preserve the natural bowl shape that caught the client’s attention back in the forest.
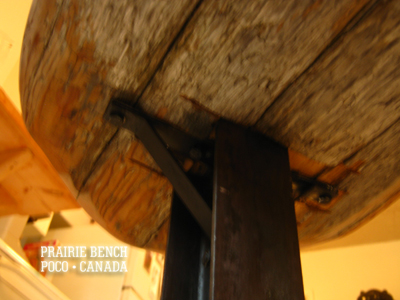
The rail is left natural and local fabricator, Sawitall.net, helped design the brackets which were torched to look old and we applied a little flat black paint. Four bolts lock the rail to the ties from underneath.
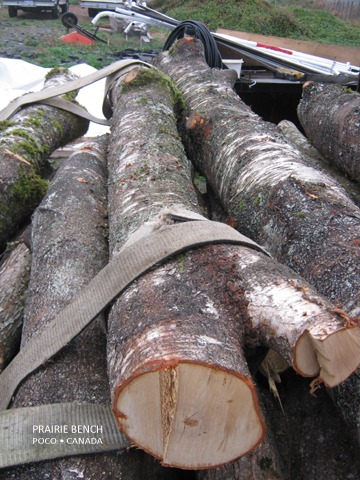
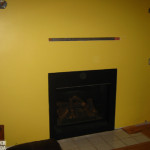
At the request of a client, we found a local piece of parkland birch harvested by a certified cutter. The log was cut into two slabs, then one slab was cut again into posts. Next, ten months to dry.
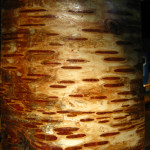
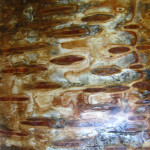
Inside we found some luxurious dark chocolate heartwood. We decided to preserve the birch bark, sanding it lightly to apply an even poly finish.
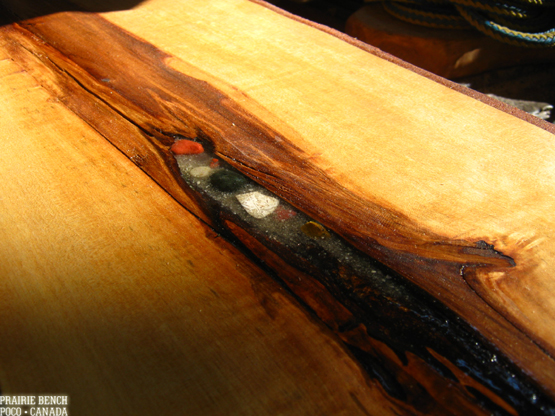
inlay gravel adds natural depth
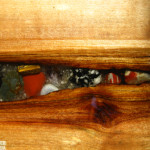
The surface was ground, then sanded. The core of the heartwood had some deep crevices, which we filled with river gravel and applied a layer of 2 stage cold poly to create the look of water.
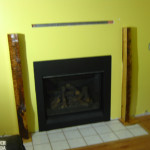
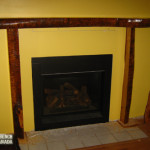
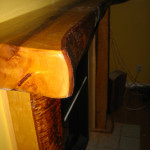
Installation was easy using a flat steel bar moored to the wall studs. The mantle was predrilled with 4″ lag bolts and the lock nuts aligned with the thickness of the drywall. The result is an eighty pound log floating on the wall securely. The pillars were fit to cedar shoes and pegged. The mantle was set on top, clicked into place, and then the lock nuts were tightened. This allowed us to install the mantle with minimal destruction to the drywall. We only had to cut a three inch strip to mount the flat bar.
The client now intends to fill the area inside the mantle with stained glass. We’ll post pics when it’s done. Wood source: hawleyscape.com
live edge on birch pillar
sizing up the mantle slab for the back cut
inlay gravel adds natural depth
poly resin is poured into crevices containing river gravel
Steel flat bar is measured for drilling holes to bolt onto studs. This was the only worry, opening up the wall and confirming the studs were to code.The mantle was predrilled at the shop. It worked and the result is a solid, snug fit.
The pillars are set on cedar shoes with a 2×3 stud back. They sit out from the wall 2″ allowing the homeowner to paint matching trim lines and mount the stained glass. The mantle is set onto 1″ hemlock pegs on each pillar. The cedar shoes lock into a space between tiles. The pillars are 51″ tall.
finished mantle awaiting stain glass insert
birch has identifiable horizontal bark with white and red tones
birch post lightly sanded with layer of polyurethane
mantle is 4″ thick, six feet long and varies in width, about 9″ at the narrowest
A local tug operator claimed an ancient cedar burl from the Fraser River. He passed it on to Prairie Bench with the wish that we “do something creative.” That’s a fun request.
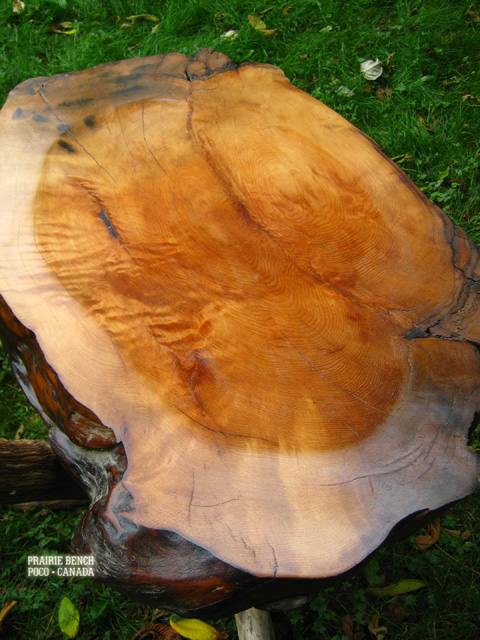
The cedar burl was marred with saw cuts and completely waterlogged. Immediately we sanded the cut edge smooth and soaked it in poly, leaving the bark and outside exposed. Then it sat under cover in a big plant stand for a year. This week was the time when the stars aligned to create a scrying bowl. Nostradamus is purported to have used one making predictions.
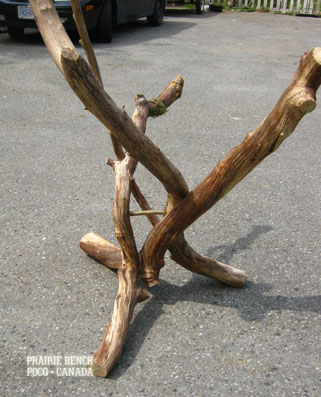
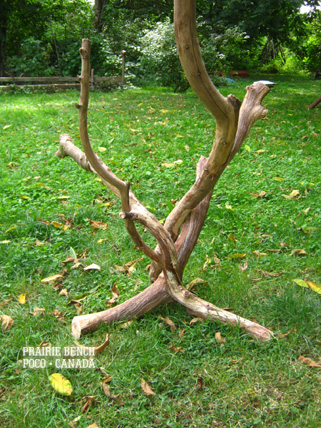
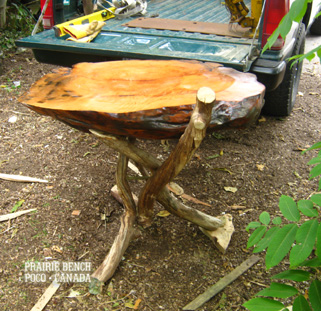
The goal for us was to create a large, shallow basin supported by a cauldron style tripod. An ash tree dropped us a ‘rowan’ branch and we dried this as well. The legs were a complex puzzle. Three legs, interwoven that would support the weight of the large burl. We added a cedar leg which conformed to the bends of the two rowan legs.
The base was cinched in an arrangement which locked together naturally, then we drilled holes and tacked the legs together with hazelnut dowel.
Rowan limbs interwoven with a cedar limb create a tripodWe’re after that goblet shape that has the natural look of a bird’s nest or antlers. With three legs it should look like a cauldron.
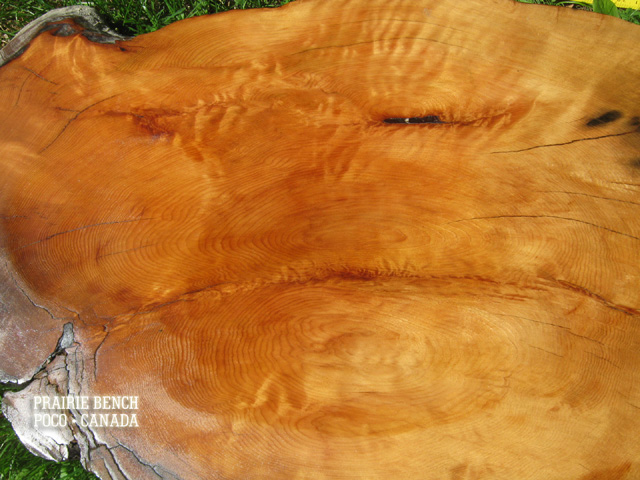
Meanwhile, the dry cedar burl was resanded (during this sanding, the bowl was ground out to its final shape and depth), any slivers whittled off, and the entire burl was soaked in poly. This wrapped and preserved the wood in an airtight shell for future generations. If someone doesn’t like polyurethane, it can easily be sanded off and natural oils can be applied. For now, the wood is saved.
We were able to unlock some of the beautiful quilting effect within the burl.
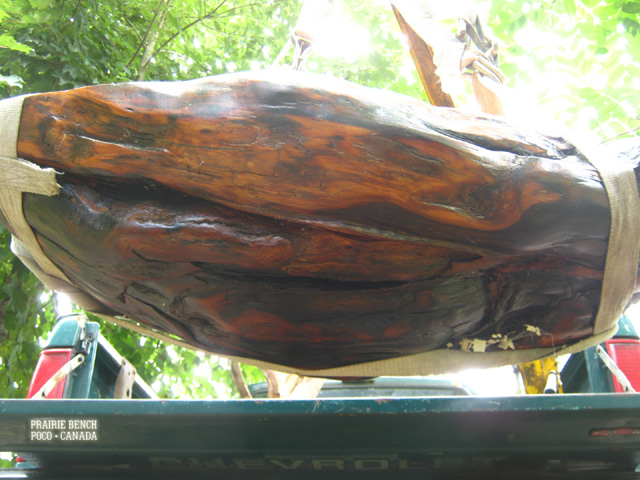
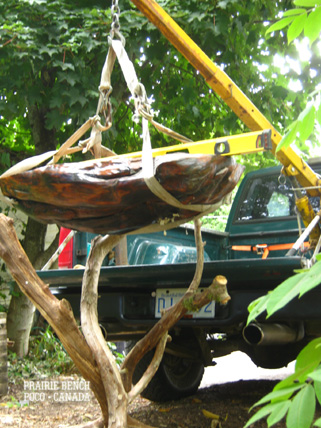
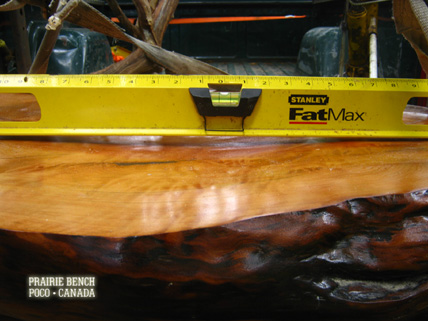
The burl was suspended by a crane on the back of our trusty bush truck and the limbs were ground down to receive the large basin. After the scrying bowl was leveled by our Royal Leveler, we made final adjustments to the position and any rough edges were whittled down.
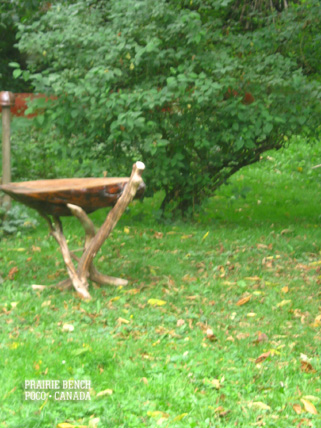
The large burl is lowered by crane and eased into its cradleReady to receiveRoyal leveler approvesThe scrying bowl has landedThe dogwood tree in the background demonstrates balance in design. Hopefully our cedar scrying bowl comes close.
The result is a 200 year old cedar burl that floated down river suspended by rowan branches that dropped from a tree. No nails or screws were used, just glue, dowels and pressure. This was a complex project but the finished piece is beautiful and unique. It has a home, but will make the rounds for show and tell.
How does a scrying bowl work? Pour spring water into the basin outdoors at night and behold the reflection of the stars as you gaze into the bowl. Some say you can see the future. Check back we’ll post some pics of the bowl in use and provide the final measurements.